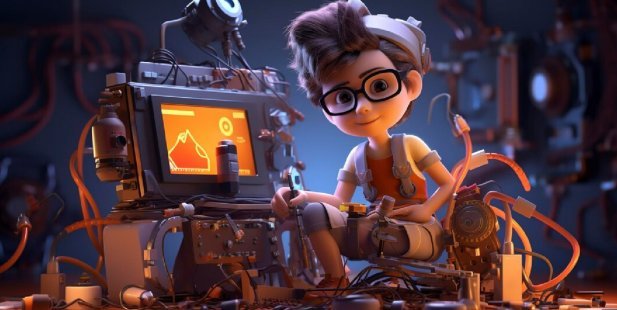
Animation is more than just making characters move — it’s about giving them life, personality, and purpose. Whether you’re creating a high-energy cartoon or a whimsical short film, knowing how to animate a character from scratch is the foundation of any compelling animation project. In 2025, technology has advanced dramatically, but core principles like shape language, timing, and expression still rule.
This guide will walk you through the essential steps to animate a character, explore the importance of visual storytelling, and sprinkle in some cute animation ideas for inspiration. By the end, you’ll have a deeper understanding of what it takes to bring your characters to life with impact and authenticity.
Step 1: Start with a Strong Concept
Before diving into animation software, you need a character concept. Ask yourself:
-
What’s their personality?
-
What role do they play in your story?
-
Are they funny, shy, fierce, or quirky?
Your concept will guide every decision from shape design to movement. Cute characters, for instance, often have round shapes, big eyes, and soft edges — common in children’s content or cute animation ideas that aim to connect emotionally with audiences.
Step 2: Design with Shape Language in Mind
Using shape language effectively enhances character depth — this is a golden rule in character design and animation. Each shape conveys an emotional cue:
-
Circles evoke softness, innocence, and friendliness (ideal for cute or lovable characters).
-
Squares suggest stability, strength, and stubbornness.
-
Triangles signal danger, energy, or aggression.
For example, a circular bear with big eyes and stubby arms instantly feels huggable, while a tall, triangular robot looks more threatening. By choosing the right shapes, your design immediately communicates who your character is — before they even move.
Step 3: Create a Model Sheet
Once you’ve nailed the design, create a model sheet — a reference that shows your character from multiple angles (front, side, back) and with different expressions or poses. This keeps animation consistent and allows you to plan how the character looks during various actions.
Step 4: Build the Skeleton (Rigging)
If you’re using digital tools like Toon Boom, Blender, or Adobe Animate, the next step is rigging. This is where you create the “skeleton” or bone structure that lets your character move.
In 2D, this often involves creating separate layers for limbs, eyes, and other body parts. In 3D, it’s more complex — involving a full rig that connects joints, facial expressions, and physics.
Step 5: Plan the Motion with a Rough Sketch (Blocking)
Before animating the full scene, create a rough sketch of the movement — also known as “blocking.” Think of this as the storyboard in motion. Focus on:
-
Key poses
-
Transitions
-
Timing and spacing
This step helps you visualize flow, rhythm, and emotion without getting bogged down in details.
Tip: Use the 12 Principles of Animation (like squash and stretch, anticipation, and follow-through) to make the motion feel real and engaging.
Step 6: Animate Key Poses (Keyframes)
Keyframes are the main positions your character hits during an action. For instance, if your character is jumping, the keyframes might be:
-
The crouch before the jump
-
Mid-air
-
Landing
Fill in the in-betweens (also called “tweens”) to smooth out the action and make it fluid. Many tools now have auto-tweening, but always fine-tune manually for better results.
Step 7: Add Facial Expressions and Lip Sync
Facial animation is where your character truly comes alive. Use shape language here too — round eyes for surprise, angled brows for anger, etc. When animating dialogue, match mouth shapes to phonemes (basic units of sound) for realistic lip sync.
Pro tip: Exaggeration helps. Make the emotion bigger than life. Audiences relate better to characters who show expressive emotions.
Step 8: Polish with Secondary Motion and Details
Secondary actions — like hair bouncing, clothes swaying, or tails wagging — add realism and charm. They also reflect your character’s mood or energy. Don’t forget subtle movements like blinking or breathing to maintain life even in still moments.
This is also where you add finishing touches like lighting, shadows, and special effects.
Cute Animation Ideas to Inspire Your Projects
Looking for cute animation ideas to practice your skills? Try animating:
-
A sleepy kitten stretching and yawning
-
A bubble-blowing dinosaur with clumsy feet
-
A shy robot learning how to dance
-
Two tiny monsters trying to bake cookies (and making a mess)
These types of short, expressive stories are perfect for beginners and give you a chance to explore different emotional expressions and motion types.
Tools to Help You Animate a Character in 2025
Here are some top animation tools suited for beginners and pros alike:
-
Toon Boom Harmony – Great for professional 2D character animation
-
Blender – Free and powerful 3D tool
-
Adobe Animate – User-friendly interface for web animation
-
Procreate Dreams – Perfect for iPad-based frame-by-frame animating
Final Thoughts
Learning how to animate a character is a journey that combines creativity, technical skill, and storytelling. The most memorable animations don’t just look good — they feel alive. By focusing on strong concepts, effective shape language, expressive movement, and detailed polish, your characters can connect deeply with your audience.
Whether you’re bringing a brave hero, a mischievous raccoon, or a dancing cloud to life, always remember: “Using shape language effectively enhances character depth“, and that’s where the magic begins.
If you’re ready to turn your ideas into living, breathing stories, Animate your dreams with our motion graphics studio — where characters don’t just move, they speak to the heart.


