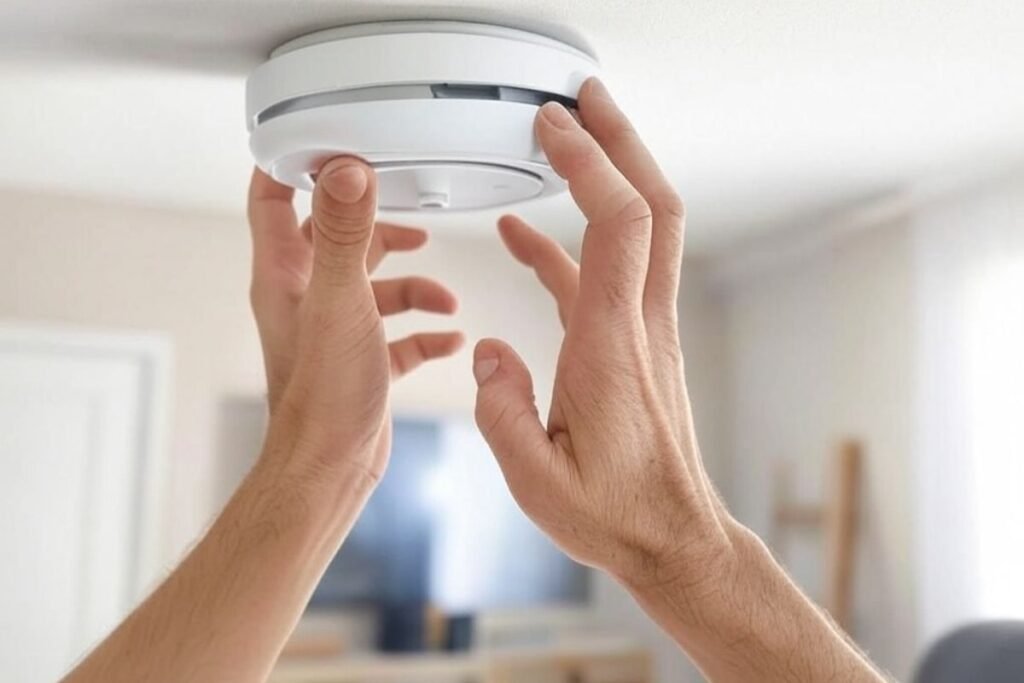
How to Safely Remove a Smoke Alarm from Its Mounting Bracket
Removing a smoke alarm may seem like a simple task, but doing it incorrectly can damage the device or trigger a false alarm. This guide will walk you through the safe and effective way to remove a smoke alarm from its bracket. Whether you’re replacing batteries, upgrading your alarm system, or remodeling, this post ensures you do it the right way.
1. Why It’s Important to Handle Smoke Alarms Carefully
Smoke alarms are sensitive safety devices designed to detect fire and smoke quickly. Mishandling them may result in permanent damage or even accidental disarming. Moreover, tampering with hardwired alarms without preparation can pose electrical risks. A safe removal process preserves the integrity of your device and keeps your home secure.
2. Know the Type of Smoke Alarm You Have
Before attempting removal, identify the smoke alarm type. There are typically two types: battery-operated and hardwired. Battery-powered alarms are easier to remove, while hardwired alarms may involve additional steps like switching off power at the breaker. Check the manufacturer label for details, usually found on the back of the alarm.
3. Tools You Might Need for the Job
Basic tools will usually suffice. You may need:
-
A screwdriver
-
A small ladder
-
A voltage tester (for hardwired units)
-
A flashlight
Make sure to have these ready before starting the process. Also, consider using gloves to avoid fingerprints or smudges on the alarm.
4. Turn Off the Power for Hardwired Smoke Alarms
If your smoke alarm is connected to your home’s electrical system, shut off power at the main circuit breaker. This prevents any accidental shocks or interference with other systems. Use a voltage tester to confirm the power is completely off before proceeding.
5. Twist to Release the Mounting Bracket
Most smoke alarms are mounted using a simple twist-lock system. Gently twist the alarm counterclockwise until it releases from the bracket. Don’t force it, as that can crack the casing. If it feels stuck, gently wiggle it side-to-side to loosen any debris or paint buildup.
6. Disconnect the Alarm from Wiring (If Applicable)
Hardwired alarms have a wiring harness that needs to be detached. Once you’ve removed the alarm from the bracket, press the plastic clip holding the wires and gently pull the plug out. Don’t yank the wires directly. Keep track of how the wires are connected in case you plan to reinstall or replace the unit.
7. Remove the Mounting Bracket from the Ceiling
If you’re replacing the entire system or changing the alarm’s location, remove the bracket by unscrewing it from the ceiling. Hold onto the screws, as you may need them for the new bracket. Removing the bracket also allows you to patch and paint the ceiling for a cleaner look.
8. Battery Removal and Safe Disposal
Once the alarm is detached, remove the batteries to prevent unnecessary beeping or power drain. Dispose of old batteries properly at a battery recycling center. If you’re disposing of the alarm, check local electronic waste guidelines for safe and legal disposal methods.
9. Cleaning the Ceiling Area
Before installing a new alarm or covering the area, clean the ceiling spot where the old alarm was located. Use a damp cloth to remove dust and residue. If there are screw holes or minor damage, patch it with spackle and sand it smooth once dry.
10. Planning for a New Alarm Installation
Now that you’ve removed the alarm, it’s a good time to plan for a replacement. Consider upgrading to smart smoke alarms or dual sensor units for increased protection. These devices often offer app notifications, CO detection, and voice alerts.
You can explore various modern alarm mounting solutions and hardware by visiting this security technology website offering helpful tools and guides.
11. Alternative Mounting Brackets for Better Flexibility
If your old bracket was difficult to manage or poorly placed, consider using a more flexible alternative. Many modern brackets are designed for easier maintenance and installation. A great example is the Hikvision DS-1280ZJ-DM8 CCTV camera bracket, which provides versatile mounting solutions for different types of devices. You can check out its features on this product page.
12. What to Avoid When Removing a Smoke Alarm
Avoid pulling the alarm forcefully or trying to cut any wires unless you’re sure it’s safe. Don’t use metal tools near wiring unless power is off. And don’t skip reading the instruction manual—many models have specific removal steps that prevent damage.
13. What to Do If Your Alarm Is Beeping During Removal
A beeping alarm during removal might mean low battery or a tamper alert. Remove the battery first. If the beeping continues, press the reset button. For hardwired systems, ensure the wiring is disconnected properly and that the backup battery is removed as well.
14. Maintenance Tips After Removal
After removal, inspect the unit for wear, corrosion, or dirt. If it looks damaged or outdated (typically 10 years old), replace it with a new one. Regularly test and clean your alarms to ensure they remain functional throughout their lifespan.
15. Embrace the Modern Way to Mount a TV or Tech Gear
If you’re revamping your living room or ceiling layout, consider adopting smarter solutions for mounting not only alarms but also TVs and cameras. Check out this detailed guide on how to mount your TV using modern wall brackets for a clean, safe installation.
Final Thoughts
Removing a smoke alarm safely is crucial for maintaining your home’s safety and avoiding potential hazards. With a little planning, the right tools, and careful handling, you can confidently remove your alarm and upgrade it for better protection. Always follow safety protocols, and when in doubt, consult a professional electrician or technician.


