
Introduction
Managing cryptocurrency requires reliable tools to monitor assets, review transactions, and connect with a hardware wallet. Ledger Live is an application designed to help users manage their crypto assets alongside compatible Ledger hardware wallets. It provides a convenient interface for checking balances, receiving and sending supported cryptocurrencies, and exploring available blockchain services.
Whether you are new to cryptocurrency or already familiar with digital assets, understanding how Ledger Live works can help you manage your portfolio more confidently. This guide explains its main features, setup process, security practices, and common troubleshooting steps.
What Is Ledger Live?
Ledger Live is a cryptocurrency management application developed by Ledger. It works with compatible Ledger hardware wallets to help users view and manage supported crypto assets while keeping their private keys protected by the hardware device.
The application is available for desktop and mobile devices, although supported features may vary depending on the device, operating system, cryptocurrency, and Ledger product.
Ledger Live can help users:
- View balances for supported cryptocurrency accounts.
- Send and receive supported digital assets.
- Review account activity and transaction history.
- Install and manage blockchain applications on compatible Ledger devices.
- Access selected staking, buying, swapping, and other services where available.
Some services depend on third-party providers, geographical availability, and eligibility requirements. Always review the details before using a service.
Key Features of Ledger Live
1. Portfolio Tracking
Ledger Live provides an overview of supported crypto accounts and their balances. Users can review their holdings and examine account activity through a single interface. Portfolio values may change with market prices, and displayed information can depend on network connectivity and supported assets.
2. Sending and Receiving Cryptocurrency
Users can initiate supported cryptocurrency transfers through Ledger Live. To receive funds, select the appropriate account, generate a receiving address, and verify the address carefully before sharing it.
To send cryptocurrency, select the account, enter the recipient’s address and amount, and review the transaction details. Depending on the transaction and asset, you may need to confirm the operation directly on your Ledger hardware device.
Always check the network and recipient address before confirming a transfer. Cryptocurrency transactions are generally irreversible.
3. Hardware Wallet Integration
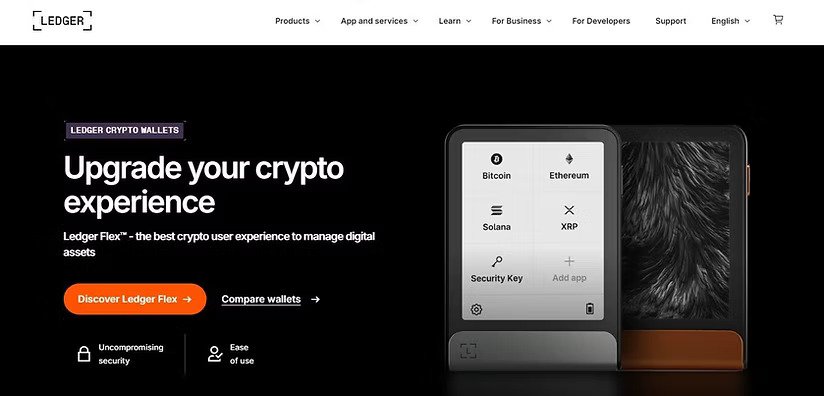
One of Ledger Live’s central functions is its integration with compatible Ledger hardware wallets. The device stores private keys and signs transactions, while the application provides an interface for interacting with supported blockchain accounts.
This separation can reduce exposure of private keys to an internet-connected computer or phone. However, a hardware wallet cannot protect users from every threat, including scams, malicious approvals, or transactions they knowingly authorize without understanding.
4. Additional Crypto Services
Depending on your location and supported assets, Ledger Live may provide access to services such as staking, cryptocurrency purchases, and swaps. Availability, fees, processing times, and provider requirements vary.
Before using these services, review the applicable terms, exchange rates, network fees, and any additional charges.
How to Set Up Ledger Live
Getting started involves downloading the genuine application and connecting a compatible Ledger device.
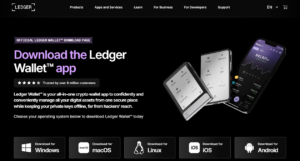
Step 1: Visit the official website
Open the official Ledger website at https://www.ledger.com/ledger-live and follow the instructions for your operating system. Avoid unofficial download websites, advertisements that imitate the official site, and unexpected download links.
Step 2: Install the application
Download the version intended for your computer or mobile device. Follow the installation instructions and open the application after installation.
Step 3: Connect your Ledger device
Connect your compatible hardware wallet using the supported connection method. Unlock the device with your PIN and follow the on-screen setup instructions.
Step 4: Complete the security checks
Follow any genuine device verification or security instructions presented by the application. If you are setting up a new device, follow Ledger’s official guidance for creating or restoring a wallet.
Never enter your recovery phrase into a website or an unexpected application prompt. Your recovery phrase should remain private and offline.
Step 5: Add supported accounts
Use the account-management options to add the cryptocurrency accounts you want to monitor. Follow the instructions for the relevant blockchain and install any required application on your Ledger device.
Step 6: Verify your account information
Review your accounts and make sure the displayed assets and network information are correct. Consider testing a new receiving address with a small transfer before sending a larger amount.